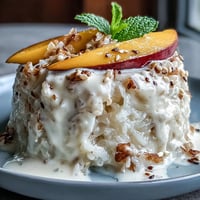
 Pin it
 One afternoon, my niece burst through the door clutching a bag of candy hearts she'd bought on clearance the day after Valentine's Day. She dumped them on the counter and announced we had to make something that wasn't just another cupcake. I stared at those pastel candies and realized we could turn them into armor for a no-bake cheesecake—crunchy, sweet, and ridiculous in the best way. We laughed so hard when the first heart cracked under her eager fingers that we nearly gave up. But once we figured out the gentle press, the whole thing came together like edible confetti.
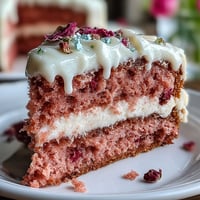
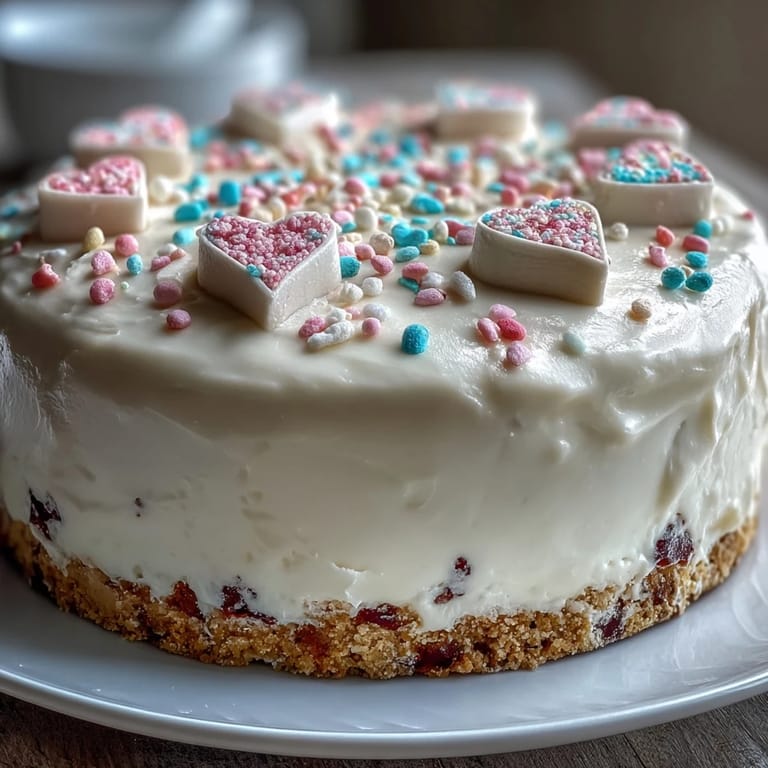
I made this for a winter potluck where everyone expected brownies or cookies. When I set down a pastel tower covered in candy hearts, three people asked if it was fake. The moment I sliced into it and the creamy filling appeared, the room went quiet. Someone whispered that it tasted like the inside of a cloud, and I've never forgotten that. It became my secret weapon for any gathering that needed a little whimsy.
Ingredients
- Graham cracker crumbs: The buttery base that holds everything together without baking, press it firm or it will crumble when you slice.
- Unsalted butter: Melted and mixed into the crumbs to create that sandy texture that sticks, salted butter can make the crust taste too sharp.
- Granulated sugar: Just enough sweetness in the crust to balance the tangy cream cheese above.
- Cream cheese: The star of the filling, soften it completely or you'll battle lumps no matter how long you beat it.
- Powdered sugar: Dissolves instantly into the cream cheese and whipped cream, leaving no gritty texture behind.
- Pure vanilla extract: A teaspoon in the filling and a half in the frosting brings warmth without overpowering the pastel sweetness.
- Heavy whipping cream: Cold cream whips to stiff peaks fast, and folding it in makes the filling light enough to feel like a treat, not a brick.
- Pink gel food coloring: Optional, but one or two drops turn plain frosting into something that matches the candy hearts perfectly.
- Conversation heart candies: The crunchy, chalky decoration that makes this cake unforgettable, buy extra because some will break.
- Rainbow sprinkles: A handful on top adds color and a little extra crunch where the hearts leave gaps.
Tired of Takeout? 🥡
Get 10 meals you can make faster than delivery arrives. Seriously.
One email. No spam. Unsubscribe anytime.
Instructions
- Build the crust:
- Stir the graham crumbs, melted butter, and sugar until the mixture feels like damp sand that holds its shape when you squeeze it. Press it into the bottom of your springform pan with the back of a measuring cup, packing it down hard so it won't fall apart later.
- Chill the base:
- Pop the pan in the fridge for 15 minutes so the butter firms up and the crust sets. This step keeps the filling from mixing with the crumbs when you spread it on top.
- Beat the cream cheese:
- Whip the softened cream cheese in a large bowl until it's completely smooth and fluffy, scraping down the sides twice. Add the powdered sugar and vanilla, then beat again until the mixture looks like silk.
- Fold in whipped cream:
- In a separate cold bowl, whip the heavy cream to stiff peaks, then gently fold it into the cream cheese with a rubber spatula. Stop as soon as the streaks disappear or you'll deflate all that air you just whipped in.
- Spread and chill:
- Pour the filling over the chilled crust and smooth the top with an offset spatula, making sure the edges are even. Cover the pan and refrigerate for at least 4 hours, or overnight if you want the firmest slice.
- Whip the frosting:
- In a clean, chilled bowl, whip the second cup of cream with powdered sugar and vanilla until stiff peaks form. Add pink gel coloring one drop at a time, mixing after each addition until you reach the shade you want.
- Frost the cake:
- Release the springform and transfer the chilled cheesecake to a serving plate. Spread the pink frosting over the top and sides in an even layer, working quickly before it warms up.
- Press on the hearts:
- Gently push candy hearts into the frosting on the sides, covering the surface in overlapping layers. Decorate the top with more hearts and a scattering of rainbow sprinkles.
- Final chill:
- Refrigerate the decorated cake for 30 minutes so the frosting sets and the candies stick firmly. Slice with a sharp knife, wiping it clean between cuts.
 Pin it
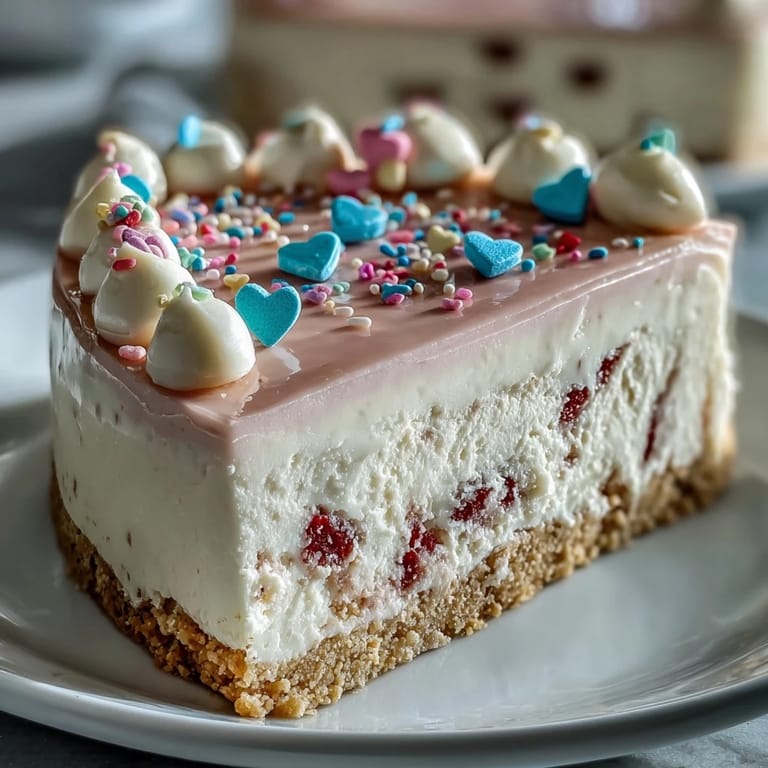
 The first time I served this, my friend asked if she could take a picture before we cut it. She said it reminded her of the Valentine's boxes we used to decorate in grade school, back when candy hearts were currency. We all stood around the table for a moment, admiring something that felt too pretty to eat. Then someone grabbed a fork and we dove in, laughing at the crunch of candies against the creamy filling.
Choosing the Right Pan
An 8-inch springform pan is the only way to get clean sides and release the cake without a fight. I once tried using a regular cake pan and had to scoop the whole thing onto a plate like a sad puddle. The springform lets you pop the ring off and show off those candy-covered sides. Line the bottom with parchment so the crust doesn't stick when you transfer it to a serving plate.
Decorating Without the Mess
I learned the hard way that warm hands melt frosting fast. Work in a cool kitchen, or chill your hands under cold water before you start pressing hearts onto the sides. If the frosting gets too soft, pop the whole cake back in the fridge for 10 minutes and start again. The candies will stick better to cold frosting, and you won't end up with pink fingerprints everywhere.
Make It Your Own
Swap the graham crackers for vanilla wafers or chocolate cookies if you want a different base flavor. Add a tablespoon of lemon zest to the filling for a bright, tangy twist that cuts through the sweetness. You can also skip the pink food coloring and leave the frosting white, or use different candy colors depending on the season.
- Crush the graham crackers in a sealed bag with a rolling pin if you don't have a food processor.
- Freeze the finished cake for an hour before decorating if you want the firmest texture.
- Serve with fresh berries on the side to balance the sweetness and add a pop of color.
 Pin it
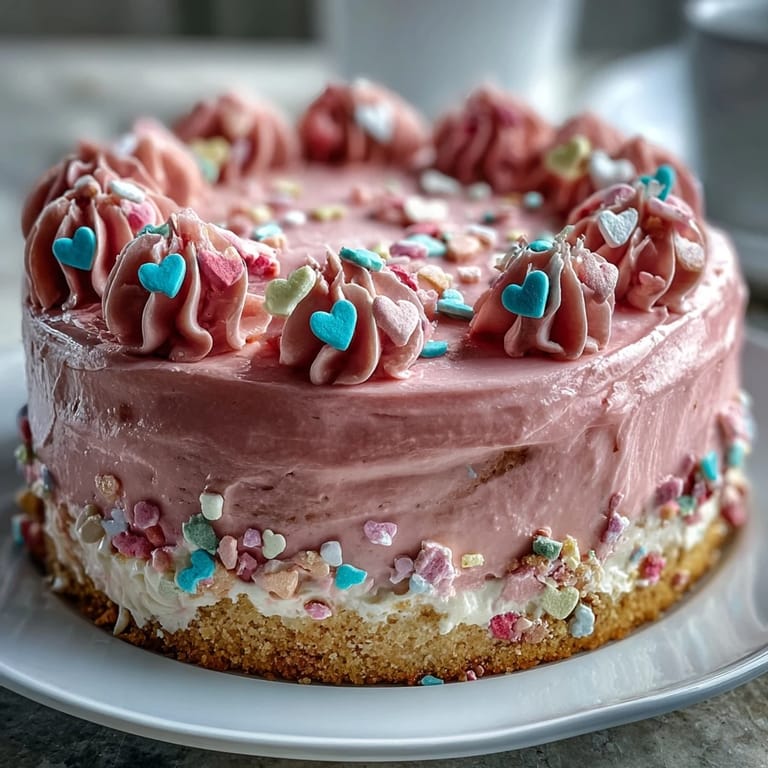
 This cake is proof that dessert doesn't have to be complicated to feel special. Every time I make it, someone asks for the recipe, and I love watching their faces when I tell them there's no oven involved.
Recipe Questions & Answers
- → Can I make this ahead of time?
Absolutely. The cheesecake filling needs at least 4 hours to set, but you can refrigerate it overnight for even better results. Add the whipped frosting and candy hearts within a few hours of serving to keep the candies crunchy and the frosting fresh.
- → What if I don't have conversation hearts?
Any small candies work beautifully. Try mini M&Ms, heart-shaped sprinkles, crushed peppermint, or even fresh berries. The goal is adding color and crunch to complement the creamy filling.
- → Why is my filling not setting properly?
This usually happens if the cream cheese wasn't fully softened or the heavy cream wasn't whipped to stiff peaks. Make sure your cream cheese sits at room temperature for at least 2 hours, and whip the cold cream until it holds firm peaks before folding.
- → Can I freeze this dessert?
Yes, freeze the undecorated cheesecake for up to 2 weeks. Thaw overnight in the refrigerator, then add fresh whipped frosting and candies before serving. Freezing actually makes cutting cleaner slices easier.
- → Do I need a springform pan?
A springform pan makes removal effortless, but you can use a regular 8-inch cake pan lined with parchment paper. To release, run a knife around the edges and invert onto a plate, then flip again onto your serving platter.
- → How do I get the perfect pink color?
Add gel food coloring one drop at a time to the whipped frosting. Gel colors are more concentrated than liquid, so start small. You can always add more, but you can't take it back. Pastel pink typically needs just 1-2 drops.