 Pin it
 There's something about the smell of peanut butter warming in the oven that stops me mid-afternoon. My neighbor once followed that scent to my kitchen door, convinced I'd been baking all day when really I'd just pulled out a single batch of these cookies. They're the kind of dessert that doesn't try too hard—soft centers, crispy edges, and that satisfying crosshatch that feels almost intentional when it's really just the tines of a fork doing honest work.
I made these for my book club last month, and they disappeared before anyone even sat down. Someone asked if they were from a box mix, which made me laugh—there's something so honest about a recipe this simple that people assume it must be cheating somehow. But there's no shortcut here, just good butter, good peanut butter, and the kind of restraint that knows when to stop mixing.
Ingredients
- All-purpose flour (1 1/4 cups): This is the structure of the cookie, keeping everything together without weighing it down. Make sure it's measured by spooning and leveling, not scooping straight from the bag—that extra flour will make them too dense.
- Creamy peanut butter (1 cup): The star ingredient that should taste like actual peanuts, not sugar. I learned the hard way that natural peanut butter (the kind that separates) works beautifully here, but if yours has oil on top, just stir it in.
- Unsalted butter (1/2 cup): Softened butter creams better with the peanut butter, creating that light, fluffy base. Cold butter will fight you through the entire mixing process.
- Granulated and brown sugar (3/4 cup plus 1/2 cup): The combination of both gives you sweetness plus moisture, which is why these cookies stay chewy even after a few days.
- Egg (1 large): This binds everything and adds just enough structure—don't skip it, and make sure it's at room temperature so it incorporates smoothly.
- Vanilla extract (1 teaspoon): A small amount that rounds out the peanut flavor instead of fighting it.
- Baking soda and baking powder (1/2 teaspoon and 1/4 teaspoon): These work together to lift the cookies slightly and help them spread evenly. Baking soda reacts with the acidic brown sugar, while baking powder ensures they rise in the oven.
- Fine salt (1/4 teaspoon): Even though it's small, salt sharpens the peanut flavor and prevents the cookies from tasting one-dimensional.
- Granulated sugar for rolling (2 tablespoons, optional): This adds a subtle crunch to the outside and catches the light—purely optional, but it feels special.
Tired of Takeout? 🥡
Get 10 meals you can make faster than delivery arrives. Seriously.
One email. No spam. Unsubscribe anytime.
Instructions
- Set yourself up for success:
- Preheat your oven to 350°F and line your baking sheets with parchment paper while you gather everything else. This five-minute head start means your dough won't sit around getting greasy while you fiddle with oven racks.
- Whisk the dry ingredients:
- In a medium bowl, whisk together the flour, baking soda, baking powder, and salt. This distributes the leavening evenly so you don't get random pockets of bitter baking soda taste in some cookies and not others.
- Cream the butter and peanut butter:
- Beat the softened butter, peanut butter, granulated sugar, and brown sugar together until the mixture turns noticeably lighter in color and fluffier—this takes about 2 minutes with a hand mixer or 3 minutes by hand. You're basically whipping air into the mixture, which helps the cookies rise gently instead of spreading into pancakes.
- Bring everything together:
- Add the egg and vanilla to the creamed mixture and beat until you don't see any streaks of yellow egg. The mixture should look smooth and almost mousse-like before you touch the dry ingredients.
- Fold in the flour mixture:
- Gently add the dry ingredients to the wet ingredients, stirring just until there are no white streaks of flour visible. Overmixing at this point makes the cookies tough, so show some restraint—a few stirring motions with a wooden spoon is usually enough.
- Shape the cookies:
- Scoop out heaping tablespoons of dough and roll each one between your palms into a ball. If you want that subtle crunch, roll each ball in a shallow dish of granulated sugar before placing it on the baking sheet.
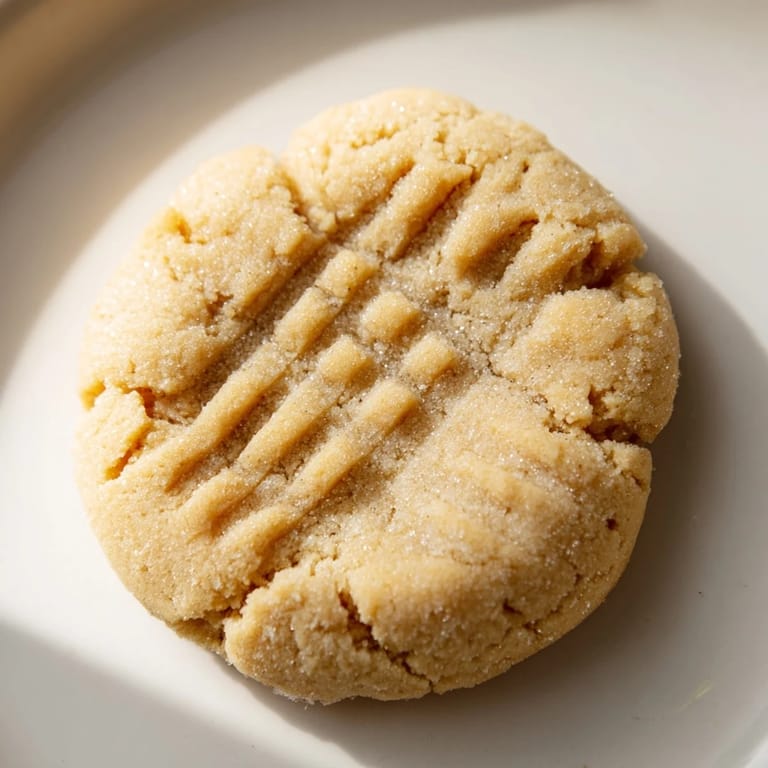
- Make the signature crosshatch:
- Place the dough balls on your prepared baking sheets about 2 inches apart, then take a fork and press down gently to flatten each cookie. Without lifting the fork, rotate it 90 degrees and press down again, creating that classic crosshatch pattern that looks intentional and beautiful.
- Bake with intention:
- Bake for 10 to 12 minutes, watching until the edges are just turning golden but the centers still jiggle slightly when you tap the baking sheet. This is the difference between cookies that are cake-like and cookies that are gloriously chewy—the edges will firm up as they cool.
- Cool with patience:
- Let the cookies rest on the baking sheet for 5 minutes so they can set, then transfer them to a wire rack to finish cooling completely. They'll continue to bake gently from the residual heat, and this resting period keeps them from breaking when you pick them up.
 Pin it
 I remember standing in the kitchen with my daughter, fork in hand, teaching her how to press that crosshatch just right. She took it so seriously, making sure each cookie got the same treatment, turning the fork with such care. When they came out of the oven and she bit into one, her face said everything—sometimes food is less about taste and more about who you made it with.
Texture and Timing
The magic of these cookies lives in the baking time. Pull them out too early and they'll be gooey and won't hold their shape. Pull them out too late and they become crispy all the way through, which is fine if that's what you want, but it loses the signature chew that makes them special. The first time I made them, I panicked and left them in too long because I was convinced they weren't done. They were still delicious, but they snapped instead of bent—a small lesson in trusting your instincts and the recipe.
Variations That Work
Once you've made these cookies straight, you might start to play with them. Chunky peanut butter adds pockets of nuttiness that make each bite slightly different. A handful of chocolate chips turns them into something almost decadent, though honestly they don't need it. The base recipe is so good that even small additions feel generous instead of necessary, which is the sign of something well-balanced.
Storage and Keeping
These cookies stay soft and chewy for about four days if you keep them in an airtight container at room temperature. The key is the airtight part—they'll absorb moisture from the air and stay tender rather than drying out. I've been known to store a batch for a week and forgotten about them, which is never really a loss.
- Keep them in an airtight container with a slice of bread to maintain softness, replacing the bread every couple of days.
- You can freeze the dough balls for up to three months and bake fresh cookies whenever you want without thawing.
- Warm a cookie in the microwave for 10 seconds if you want to recapture that first-from-the-oven softness.
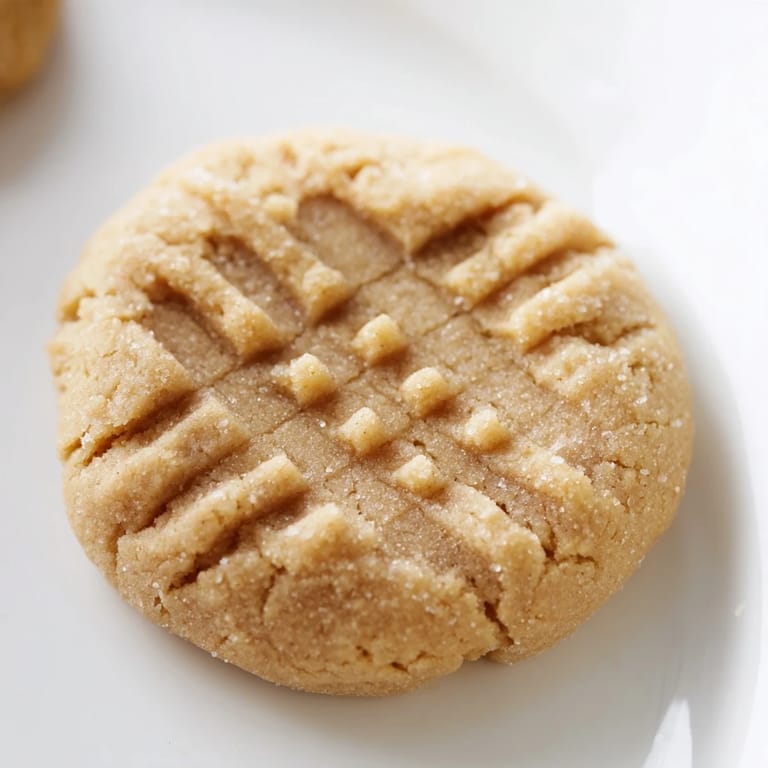 Pin it
 These peanut butter cookies are the kind of recipe you come back to again and again, not because they're complicated or impressive, but because they work. They taste like someone who cares made them, even when you've made them a hundred times.
Recipe Questions & Answers
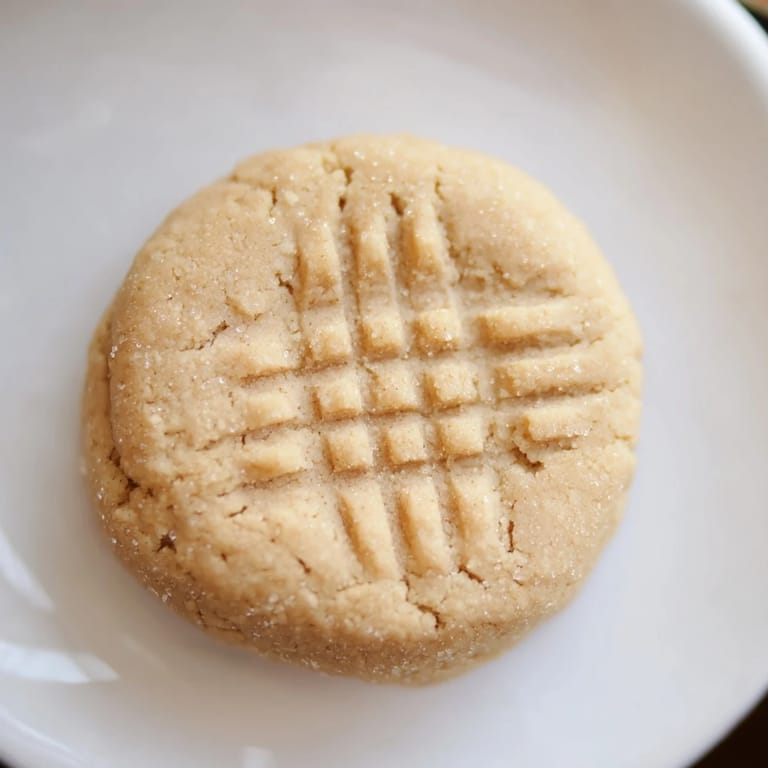
- → What gives the crisscross pattern on these treats?
The signature crosshatch is created by pressing the dough balls gently with a fork twice before baking, forming the classic pattern.
- → Can I use crunchy peanut butter instead of creamy?
Yes, using crunchy peanut butter adds texture and nut pieces for a heartier bite.
- → How do I achieve a chewier texture?
To keep them soft and chewy, bake just until the edges turn lightly golden and centers stay soft, usually around 10-12 minutes.
- → Can I add mix-ins like chocolate chips or nuts?
Absolutely. Incorporate chocolate chips or chopped peanuts into the dough for added flavor and texture variation.
- → What is the best way to store these treats?
Store in an airtight container at room temperature to maintain softness for several days.